My 3 year old son, Benjamin is OBSESSED with trains. He loves anything to do with trains from real trains, toy trains, model trains, books about trains, pictures of trains, drawings of trains, etc… In fact, about half of the conversations I have with him have to do with trains.
He especially loves Thomas and playing with his wooden tracks. For his birthday and Christmas, he has gotten a lot of tracks, trains, and accessories like bridges, and we love building a huge network of tracks. However, most of these trains and accessories are really expensive, so I wanted to make him a tunnel and mountain to play with. I was able to make one for free with materials I already had around my house.
What you need:
1. Card stock
2. A printer or scrapbook paper
3. Scissors and an X-ACTO knife
4. Hot glue gun
5. Watercolors
6. Marker
7. Cardboard.
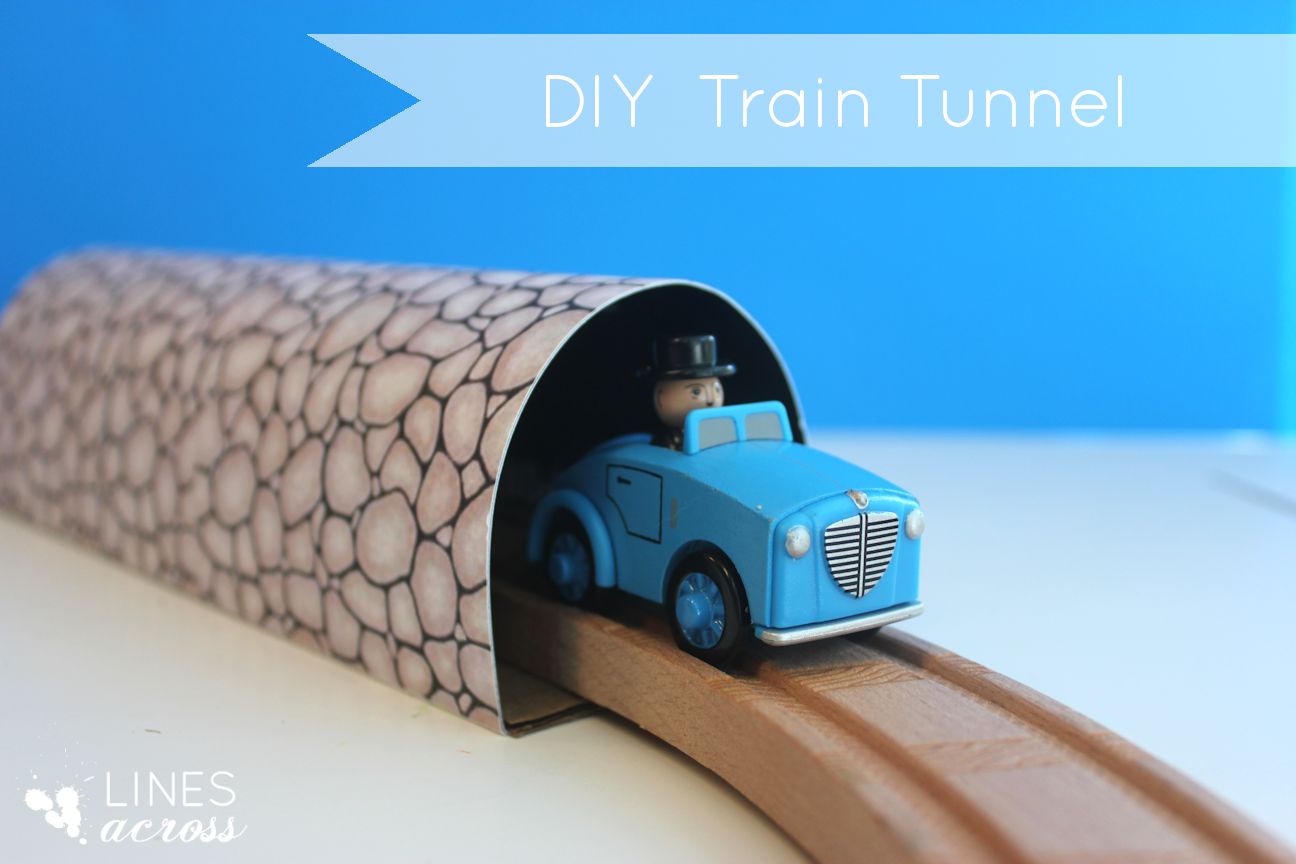
How to make the TUNNEL:
1. Either get a piece of scrapbook paper that looks like a rock wall, or print something similar onto a piece of card stock. Trim the edges (if there are any) so that there aren’t any white strips. If you feel that your paper is flimsy and needs more support, attach it to a piece of thin cardboard (like from a cereal box).
2. Cut a piece of cardboard that is about 8 inches long (as long as the width of your paper), and about 1 inch wider than your wooden train tracks. (about 3 inches).
3. Fold the top and bottom 2 inches of your paper over in the same direction. Glue each of these sides with a hot glue gun to the bottom of your cardboard. And you’re done!

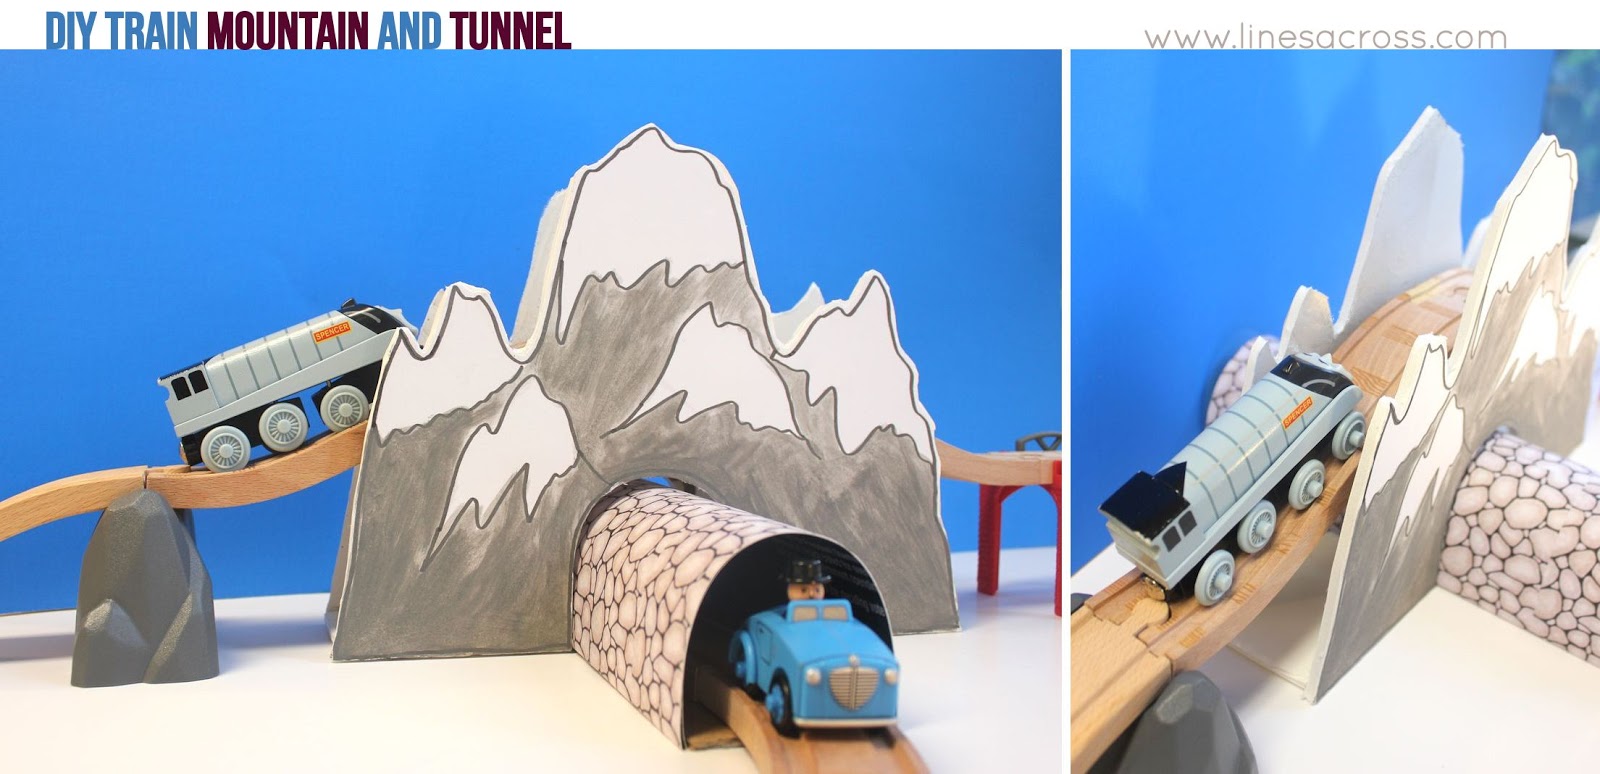
How to make the MOUNTAIN:
1. Use an artist’s marker or sharpie to draw the shape of the mountains you want onto a piece of foam core. If you have already made your tunnel, make sure that your mountain is big enough to fit over the tunnel.
2. Cut out your mountain with an X-ACTO knife. Trace this same shape onto another piece of foam core and cut it out. Now hold up the two pieces so that they perfectly align and draw the outline of your mountains on the outside of the second piece.
3. Trace the shape of the tunnel onto both pieces of foam core and cut it out. Make sure that you leave some extra space at the top and bottom so that it will fit.
4. Decide how wide you want your mountains to be. Cut a few pieces of foam out that are that width. Also cut one long piece of foam that is that width, and that is the same length as your mountains. Using a hot glue gun, attach the bottoms of both mountains to this base. Attach a few extra pieces of foam core inside of the mountain to secure it.
5. Using watercolors, paint the grey part of the mountains. Enjoy!

This ends out being a little fragile, but it has held up to a 2 year old and 3 year old for over a month now. We like to put two rising tracks on each side so that it is a very tall mountain. Benjamin LOVES his mountain and tunnel and it has been an awesome (and free) addition to his train set. If your kids are a little older, they could even help decorate and paint the mountains.

Yay! This is so much fun. I can just see Benjamin having a blast with this.
That's really too cute, wonderful and playfull craft, thank you for sharing!
My boys (and my little girl) are going to LOVE this, and it doesn't look too difficult! What a fun idea. I would love to share this idea, I would love for you to link it up to my linky party – http://www.fivelittlechefs.com/2013/01/fantastic-thursday-30.html
So cute!! My boys LOVED their train table and all of the Thomas trains!! 🙂
Now that is super fun! You are just too smart, girl! Great idea!
Take care,
Trish
cool, I made a tunnel like that out of a round chip container for my son for christmas. He loves it. 🙂 I'll have to add a mountain for his trains to climb now. 😉
Wow, Rachel you are so creative! That is one amazing tunnel and mountain. 🙂
This is fantastic! I love to see people getting creative with trains. We're making more and more of our own stuff for our wooden trains now. Pinning this to my Fun Train Stuff board…and probably the rest of my train boards. Awesome!