• Home
  • Blog
  • About
    • Contact
    • Contributors
    • Collaborate
    • The Newsletter
  • Crafts
    • Reader Favorites
    • Polymer Clay
    • Watercolors
    • Let’s Paint
    • Adult Coloring
    • Paper Crafts
    • Jewelry
    • Mod Podge
    • Flowers
    • Little Lines
    • Inspiration
  • Freebies
    • iPhone Wallpapers
    • Gift Boxes
  • Seasonal
    • Spring
    • Easter
    • Mother’s Day
    • Summer
    • Fall
    • Halloween
    • Christmas
  • Shop
    • 
    • 
    • 
    • 
    • 

Lines Across

Lets Make a Mess

Make Your Own Paper Gift Box

April 19, 2012 by Rachel 20 Comments

I came across this felt gift box tutorial at Curbly the other day, and I knew I wanted to try making some with card stock.

(Beware, tomorrow I will be sharing a very silly and fun version of these that I made)

I think that you can make this entire gift box in less than a minute.

Go to Curbly and print the free template onto a piece of 8.5 by 11 Card Stock. Cut out the template. (Make sure you cut just inside the lines so that the black line doesn’t show up on the box). I used an Exacto knife and a cutting board to cut out the slots. Assemble. I had to fold over the corner of the pieces that go through the slot in order for them to fit. Just fold them back over afterwards.

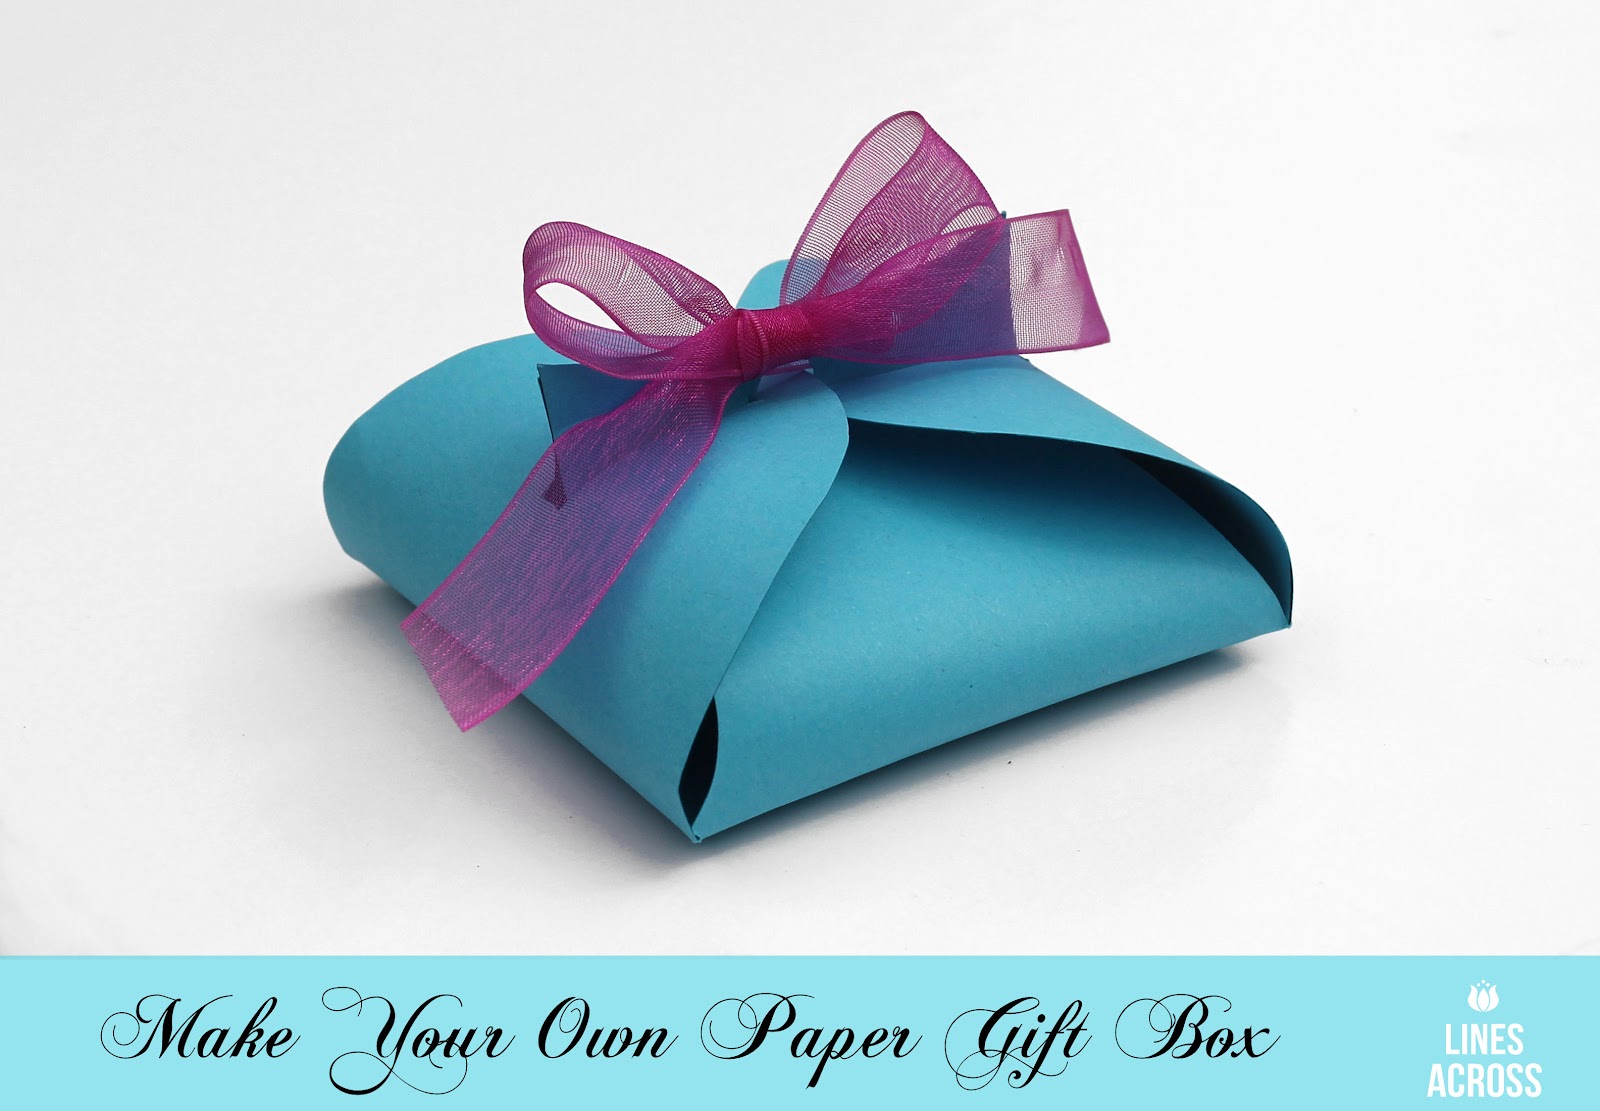
That’s it. You have a cute paper gift box that would be perfect for so many different little gifts, or even a gift card. You can decorate these little things in so many ways (haha, seriously come back tomorrow), but for now I just added a ribbon bow. I punched two small holes, one in each tab, and then I tied on the bow.

About Rachel

Craft blogger. Color lover. Mess maker. Mom of three. You can find me at Lines Across sharing my creative adventures and tutorials on how to make stuff.

How to Remove Shadows from Sidebar Images… (and other blog design issues)
Guest Posting at Seven Thirty Three

Comments

  1. Cal says

    April 19, 2012 at 1:00 pm

    Love it! Thanks for the tutorial!

    Reply
    • Anonymous says

      August 14, 2015 at 8:21 am

      where is the tutorial???

      Reply
  2. Bromeliad says

    April 19, 2012 at 1:04 pm

    Great addition to the original with the ribbon.

    Reply
  3. Katie @ Little Becky Homecky says

    April 19, 2012 at 2:20 pm

    This is so cute! Thanks for the tutorial!!

    Reply
  4. Kate @ craftwhatever says

    April 19, 2012 at 2:26 pm

    How awesome and simple! I was just searching the house yesterday for a small gift box and couldn't find one. I will be crafting these today for my sister's b-day present! Thanks!!

    Reply
  5. Ann Martin says

    April 20, 2012 at 1:56 pm

    This will come in handy, thanks so much!

    Reply
  6. Melanie @ bear rabbit bear says

    April 20, 2012 at 3:04 pm

    What a neat idea! So glad you linked to Things I've Done Thursday!

    Reply
  7. Kathryn says

    April 21, 2012 at 4:37 am

    love this idea! new follower from the hop, would love a follow back

    http://cumminslife.blogspot.com/

    Reply
  8. Justine says

    April 22, 2012 at 3:12 am

    Stopping by from the Finding New Friends Weekend Blog Hop! http://queenofsavings.com

    Reply
  9. Tisha says

    April 22, 2012 at 7:26 pm

    I found you via the Blog Hop. I so love doing this. Thanks from your newest follower. http://craftchickie.blogspot.com/

    Tisha

    Reply
  10. marissa says

    April 23, 2012 at 2:42 am

    ooh I loved the felt version when I first saw it, using paper is a great idea!

    marissa
    http://raegunwear.blogspot.com

    Reply
  11. Artsy VaVa says

    April 23, 2012 at 4:12 am

    Love the box!

    Reply
  12. ElisabethAndrée says

    April 23, 2012 at 9:08 am

    Yours is better because I don't like felt. Thanks for sharing:)

    Reply
  13. Jenny says

    April 23, 2012 at 10:05 pm

    These are super cute…I am your newest follower from the Networking Blog Hop! I would love if you would check out my blog and if you like what you see follow back 🙂
    Modern Modest Beauty

    Reply
  14. Nicole says

    April 26, 2012 at 12:16 am

    That's very classy!

    Reply
  15. Pam Andrews says

    May 14, 2012 at 10:11 pm

    This is great, thanks for the tutorial link. I have been looking for handmade ways to box my jewelry which is handmade as well. This is great, so cool.

    Reply
  16. antonella says

    May 31, 2012 at 6:16 pm

    Thank you 🙂

    Reply
  17. Patti Farrell says

    June 1, 2012 at 8:44 am

    I made one for a friend and she loooved it with a gift I stuck inside – I was in a hurry and just stuck a bow at the top with a glue dot. Glad you said you punched the tabs, will now try that. These are just so fun.

    Reply
  18. J Akin says

    August 20, 2016 at 12:36 pm

    Scribd does not have the template.

    Reply
    • Rachel says

      August 26, 2016 at 12:16 pm

      Thanks for letting me know! It looks like someone took it down… I will try to make a similar template on my own and share it soon.

      Reply

Leave a Reply Cancel reply

Your email address will not be published. Required fields are marked *

Well hello! ••• I’m Rachel. Let’s Make a Mess.

Sign up for weekly updates and exclusive freebies.

Let’s Connect

  • 
  • 
  • 
  • 
  • 

Popular Posts

Make Your Own Stamps

Make Your Own Stamps

Make Your Own Pillow Boxes

Make Your Own Pillow Boxes

Weaving without a Loom

Weaving without a Loom

Recent Posts

  • DIY Wooden Pencil Cup
  • Weaving without a Loom
  • Unicorn Mason Jars
  • Our Little Adventure with Toyota Corolla
  • DIY Plant Stand
  • DIY Sidewalk Chalk Paint

Archives

Categories

Meta

  • Log in
  • Entries RSS
  • Comments RSS
  • WordPress.org
  • Home
  • Blog
  • About
  • Crafts
  • Freebies
  • Seasonal
  • Shop

© 2023 · Pretty Creative WordPress Theme by, Pretty Darn Cute Design